00m00s
Welcome to TPMS Studio.
00m11s
Default gyroid cylinder is shown on startup. We'll have a play with the unit cell length, wall thickness, size of cylinder and rotation of the lattice in any direction.
01m30s
Reset to our default cylinder gyroid, then we'll make the cold channel solid and swap the shade to plastic.
02m04s
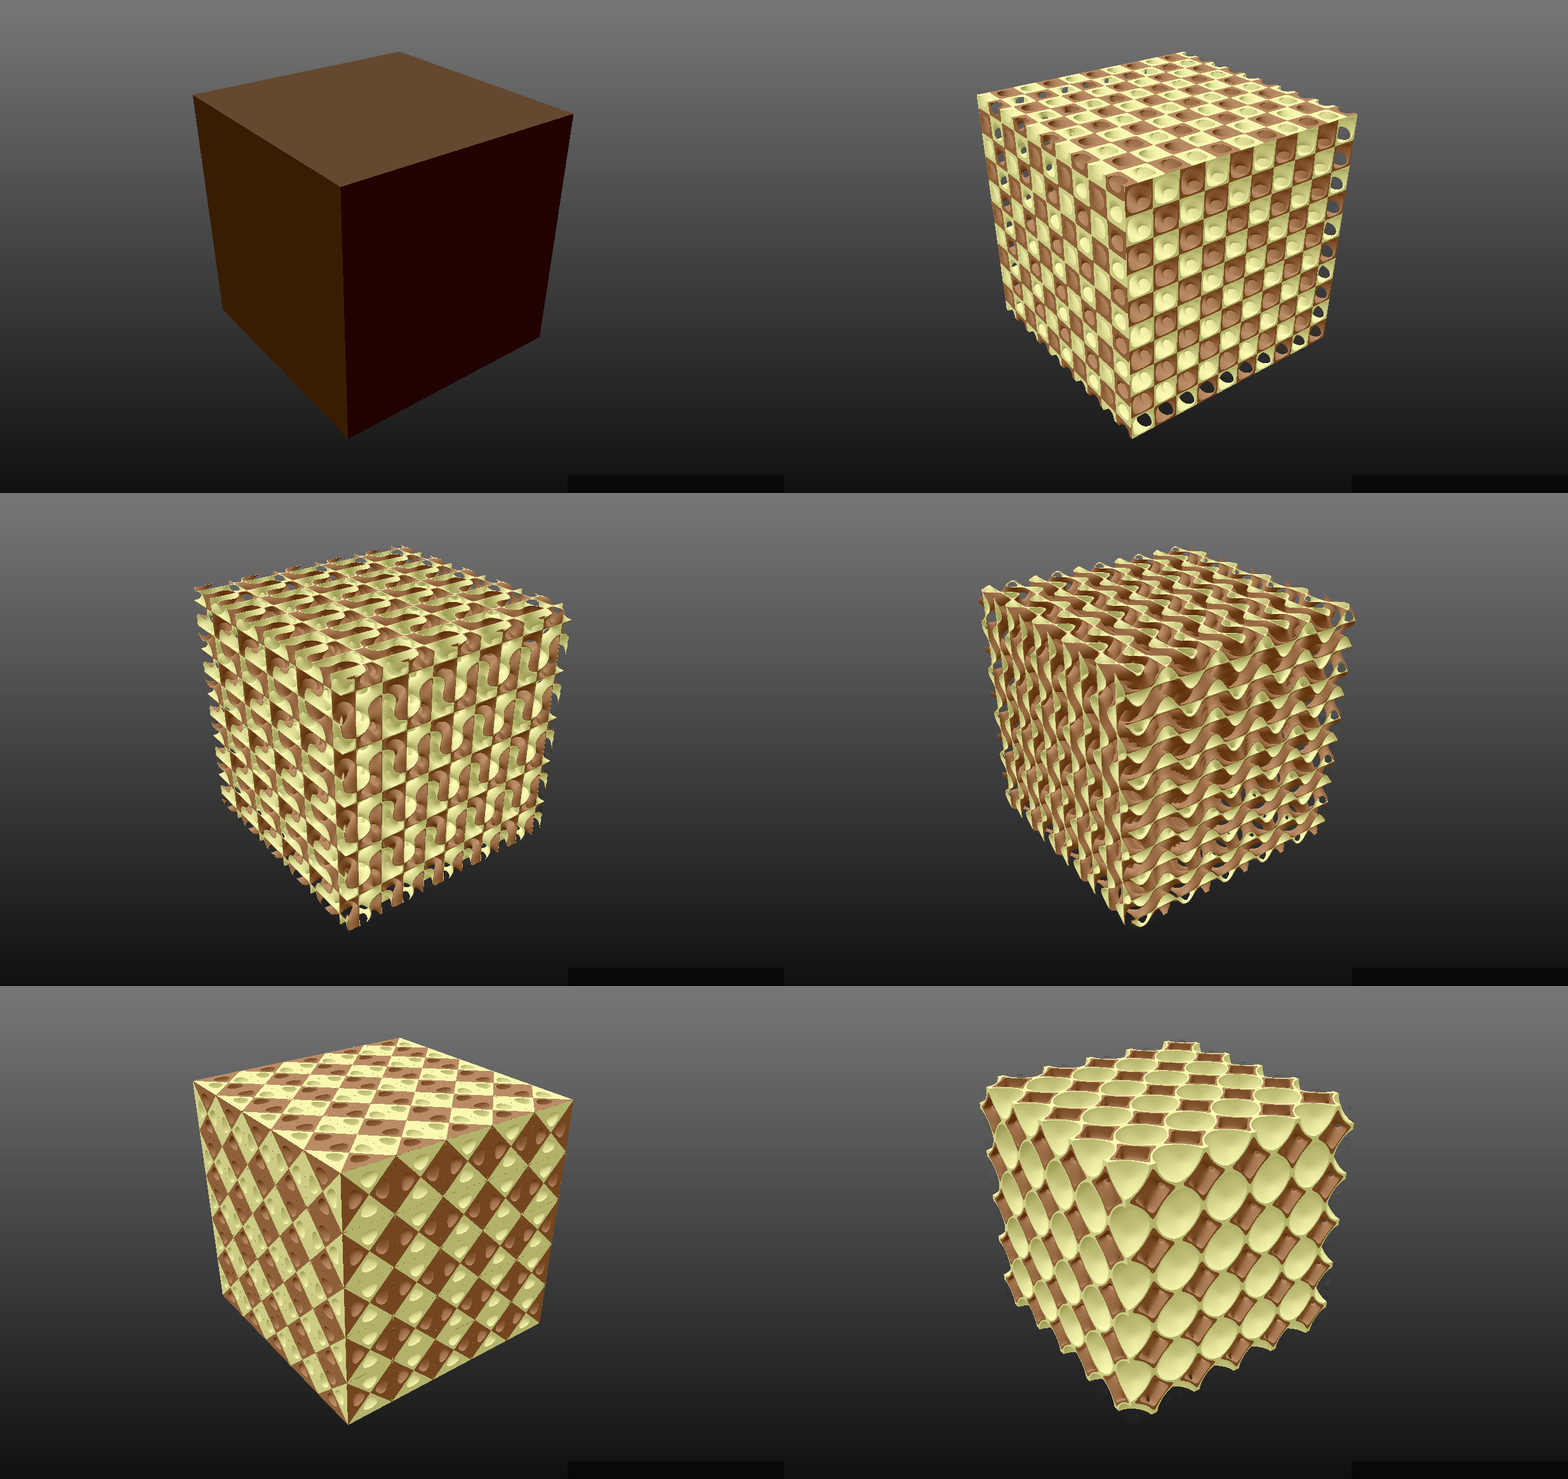
The 30+ available lattice types: Solid, Gyroid, Diamond, Primitive, Lidinoid, Split P, Scwharz CLP, CLP, Q*, Fischer-Koch C(P), Fischer-Koch S, Fischer-Koch C(S), Fischer-Koch Y, , Fischer-Koch C(Y), Fischer-Koch ±Y, Fischer-Koch C(±Y), C(Y**), I2 - Y**, C(I2 - Y**), Double Gyroid, Double Diamond, Double Primitive, Complementary D, D', G', W, F, F-RD, Karcher K, I-WP, Neovius and O, CT-O.
02m42s
Cell metrics, say we want a specific channel diameter and porosity. The optimal unit cell length, wall thickness and channel size will be calculated and can be applied to the TPMS stucture.
03m43s
What if we want something else than a cylinder? We can also use a box, cone, torus or other predefined structures.
04m32s
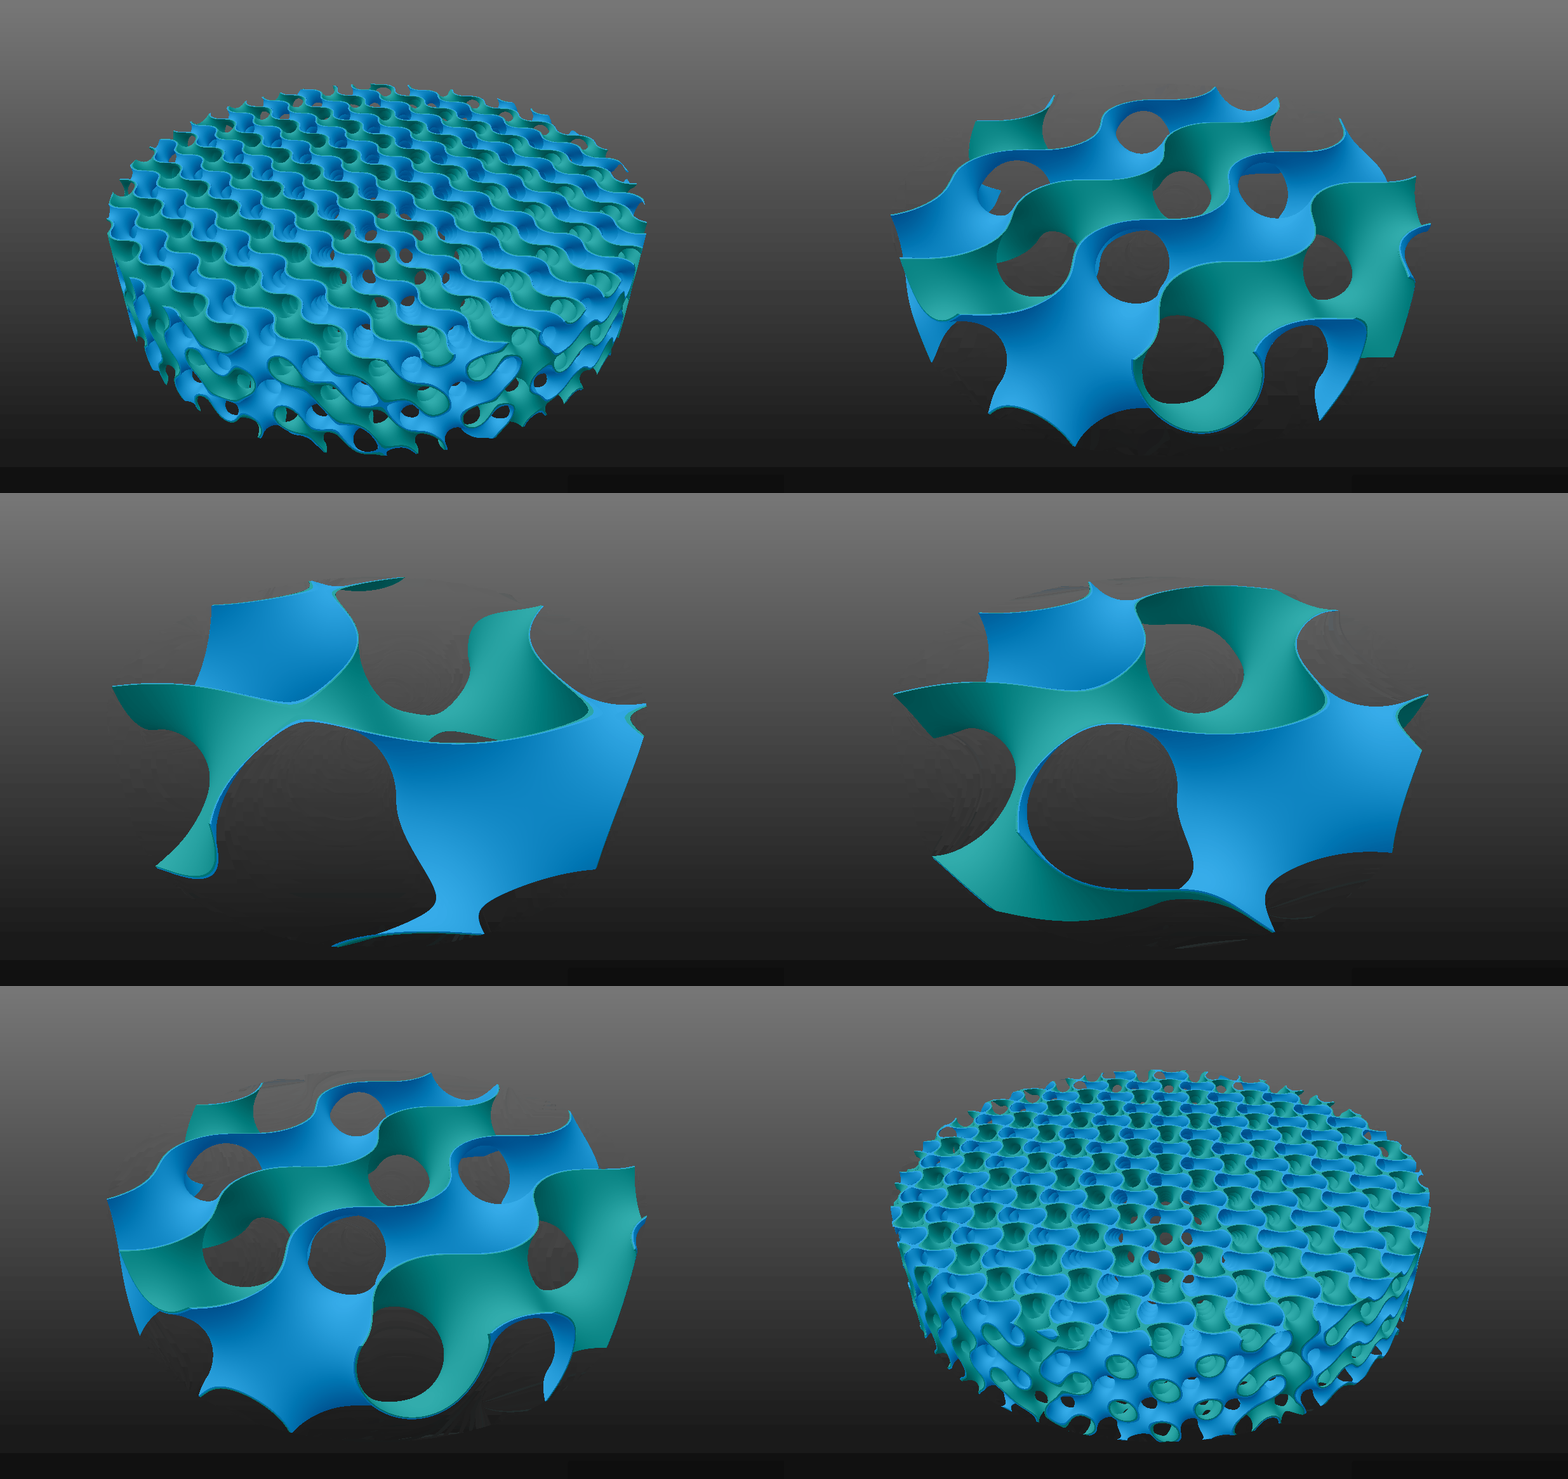
A closer look at the custom shell and clipping shape and most importanly, the inside of the object.
05m40s
Are there other shapes for our shell? Yes, we have the box, cylinder, pipe, sphere, cone, oblique cone, torus, link, line capsule, helix, fat helix, screw, box frame or any given volume.
06m38s
We can load one of the predefined projects to start with, e.g. the 2nd calibration project. This has a customised lattice part and a solid part.
07m18s
The heat exchanging with screws project. We can customise the colors and other settings of the structure, optimise the cell metrics for the lattice inside and use a gradient thickness instead of uniform channels.
09m28s
We can invert the channels, to see where gasses or liquids flow.
10m04s
A uniform wall thickness on each channel separatly.
10m40s
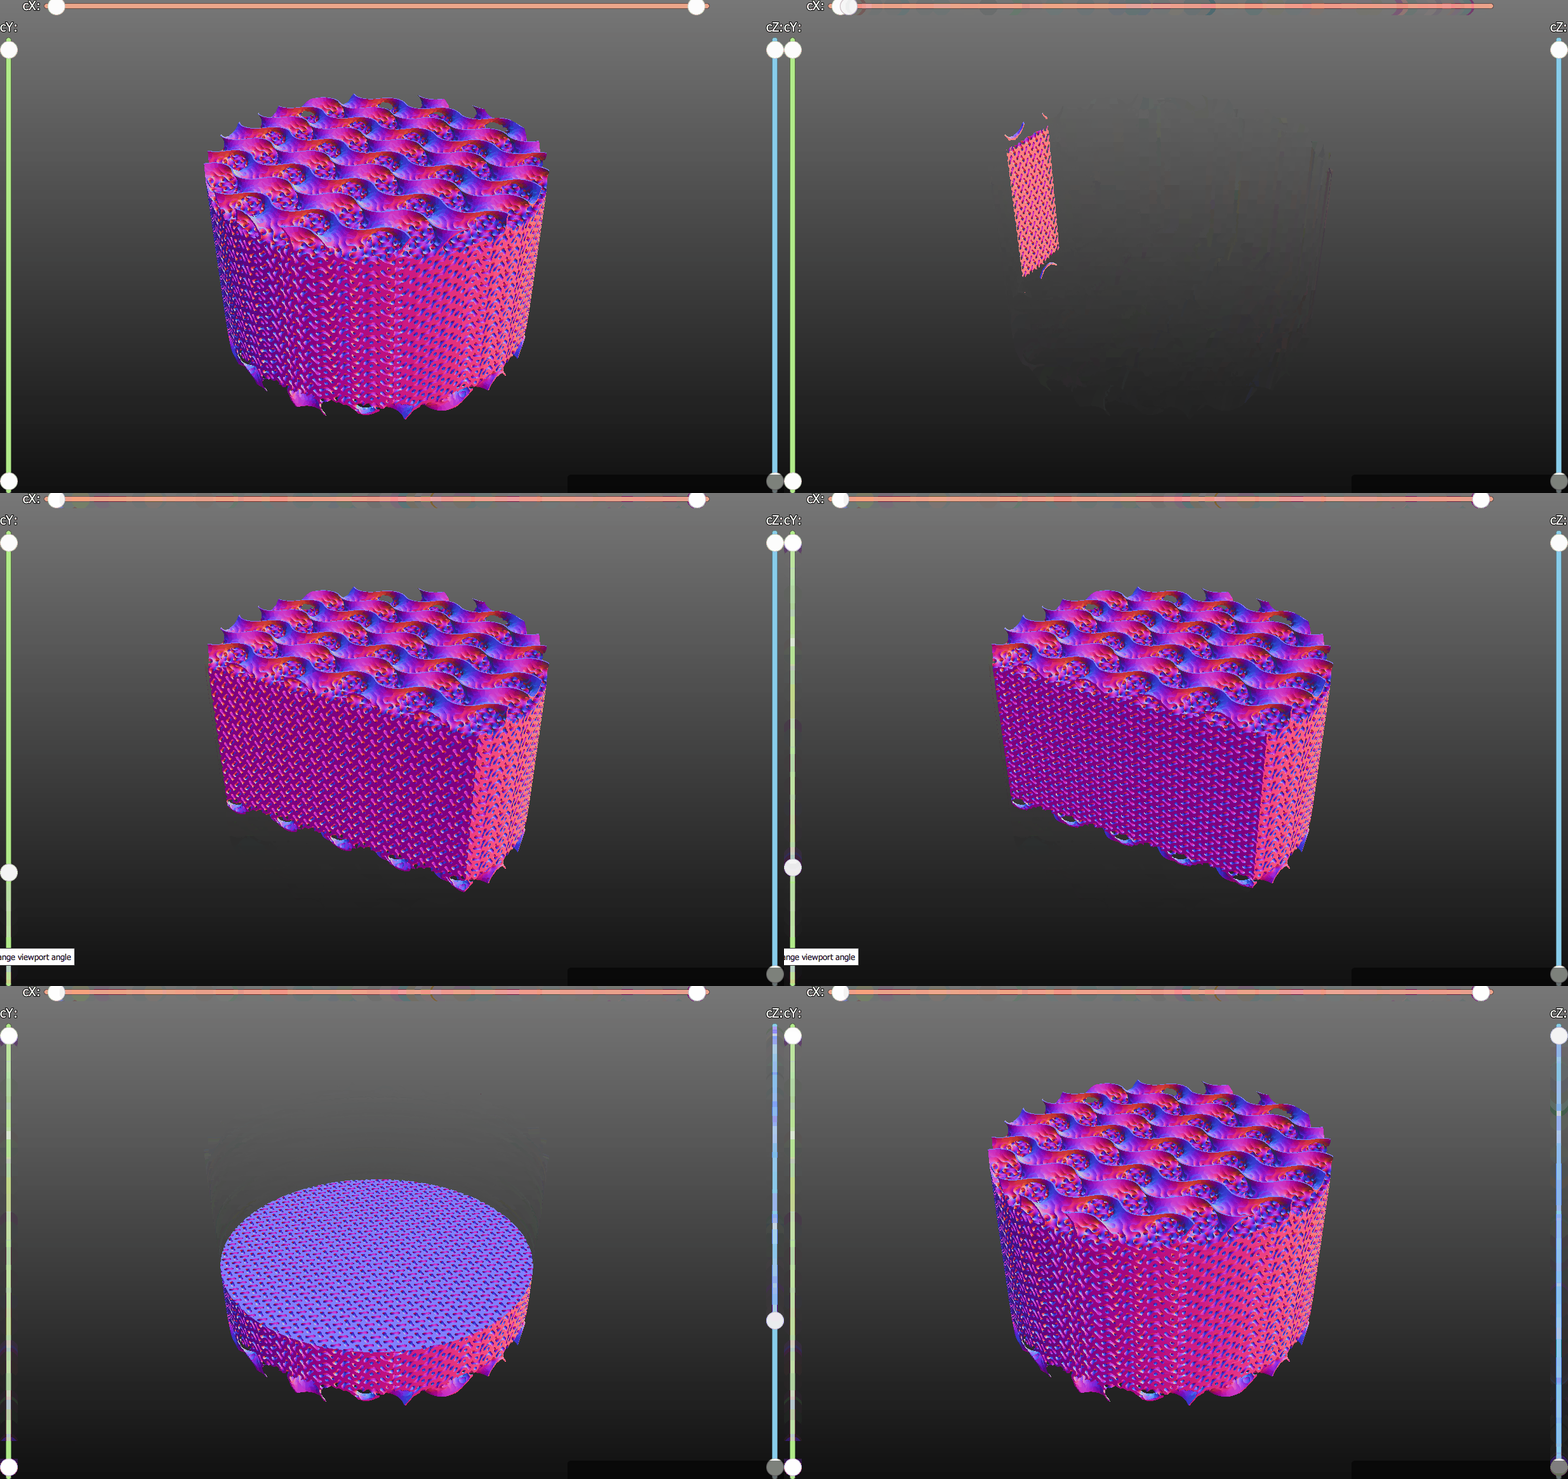
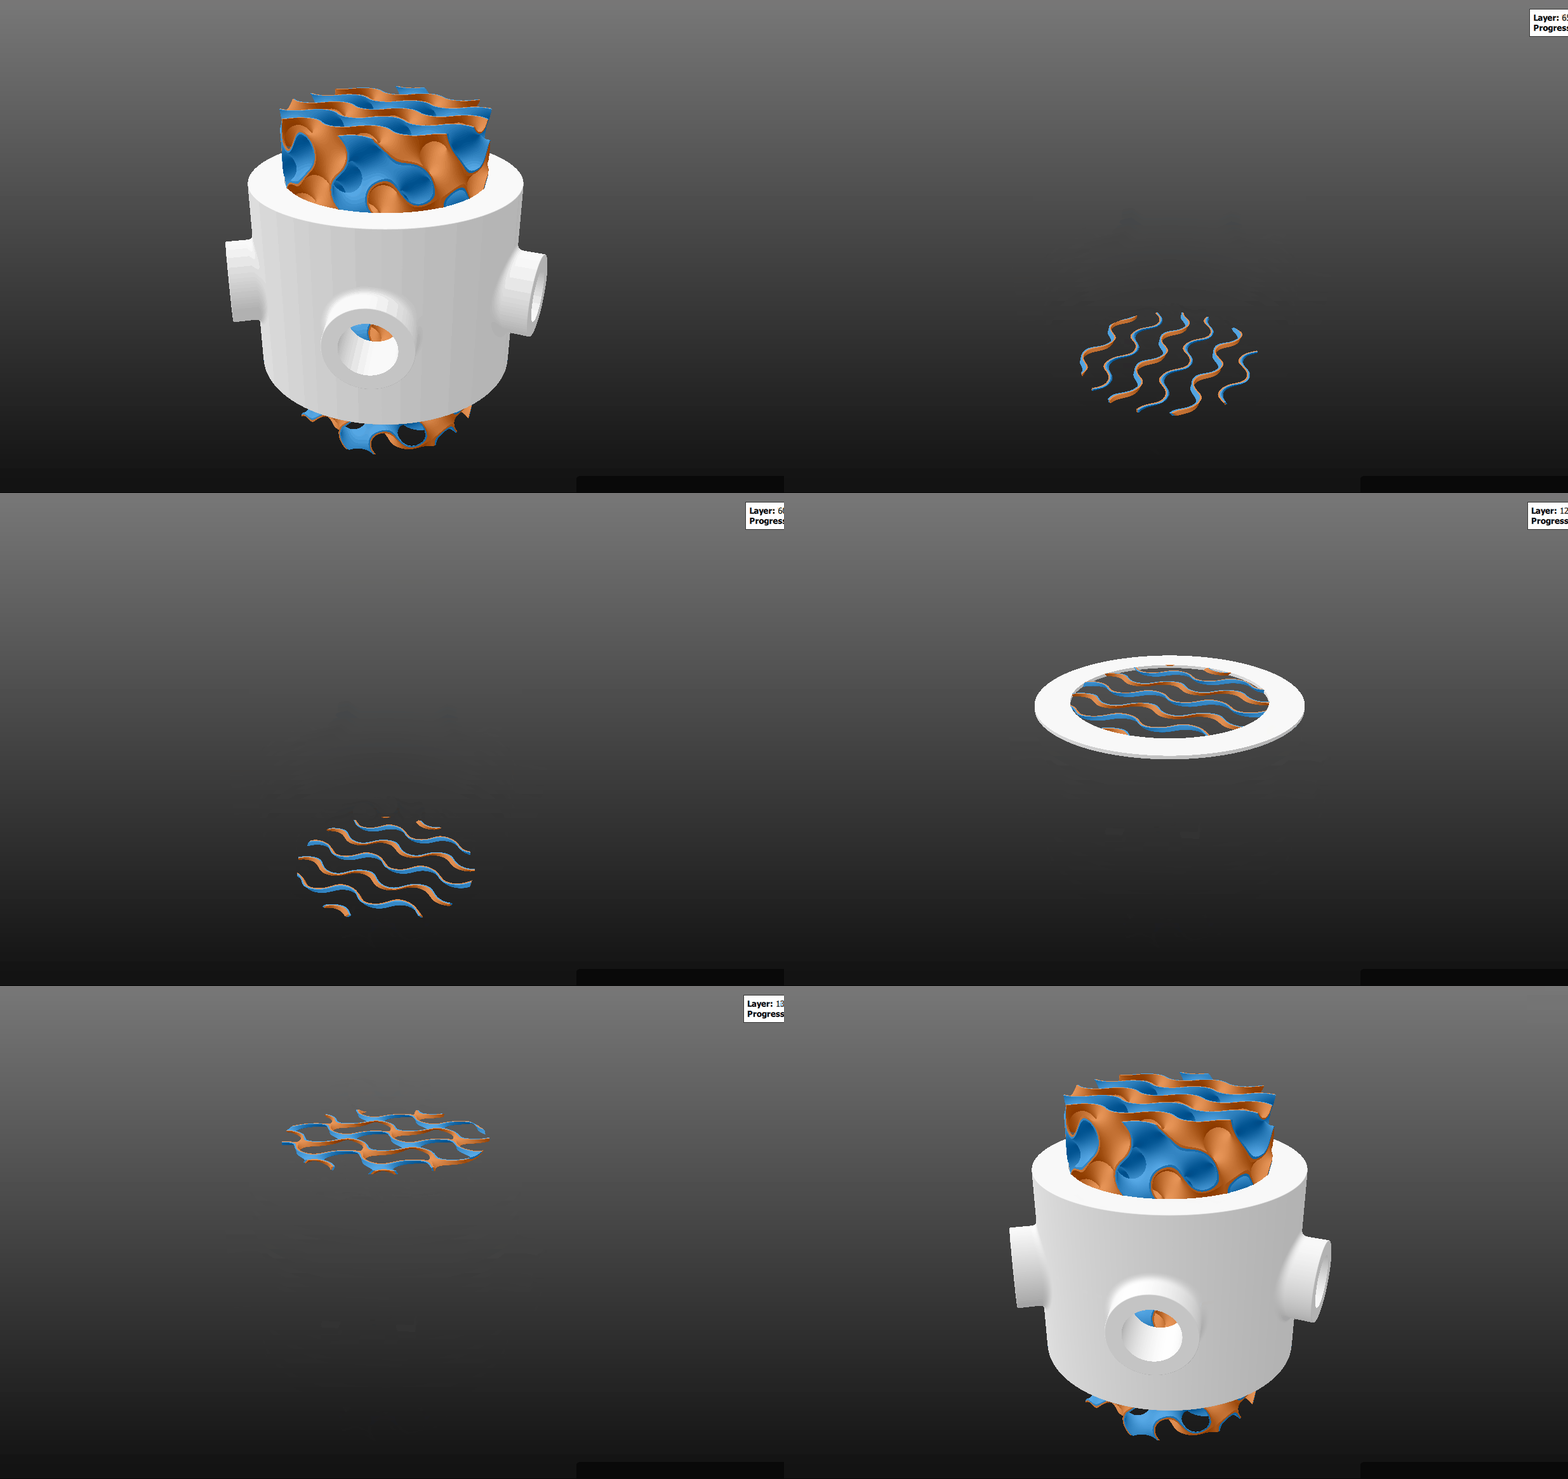
Evaluate the geometry slice by slice.
10m58s
The CSG Workbench is used to create a custom model. In this case we select a fat helix for our lattice structure.
10m49s
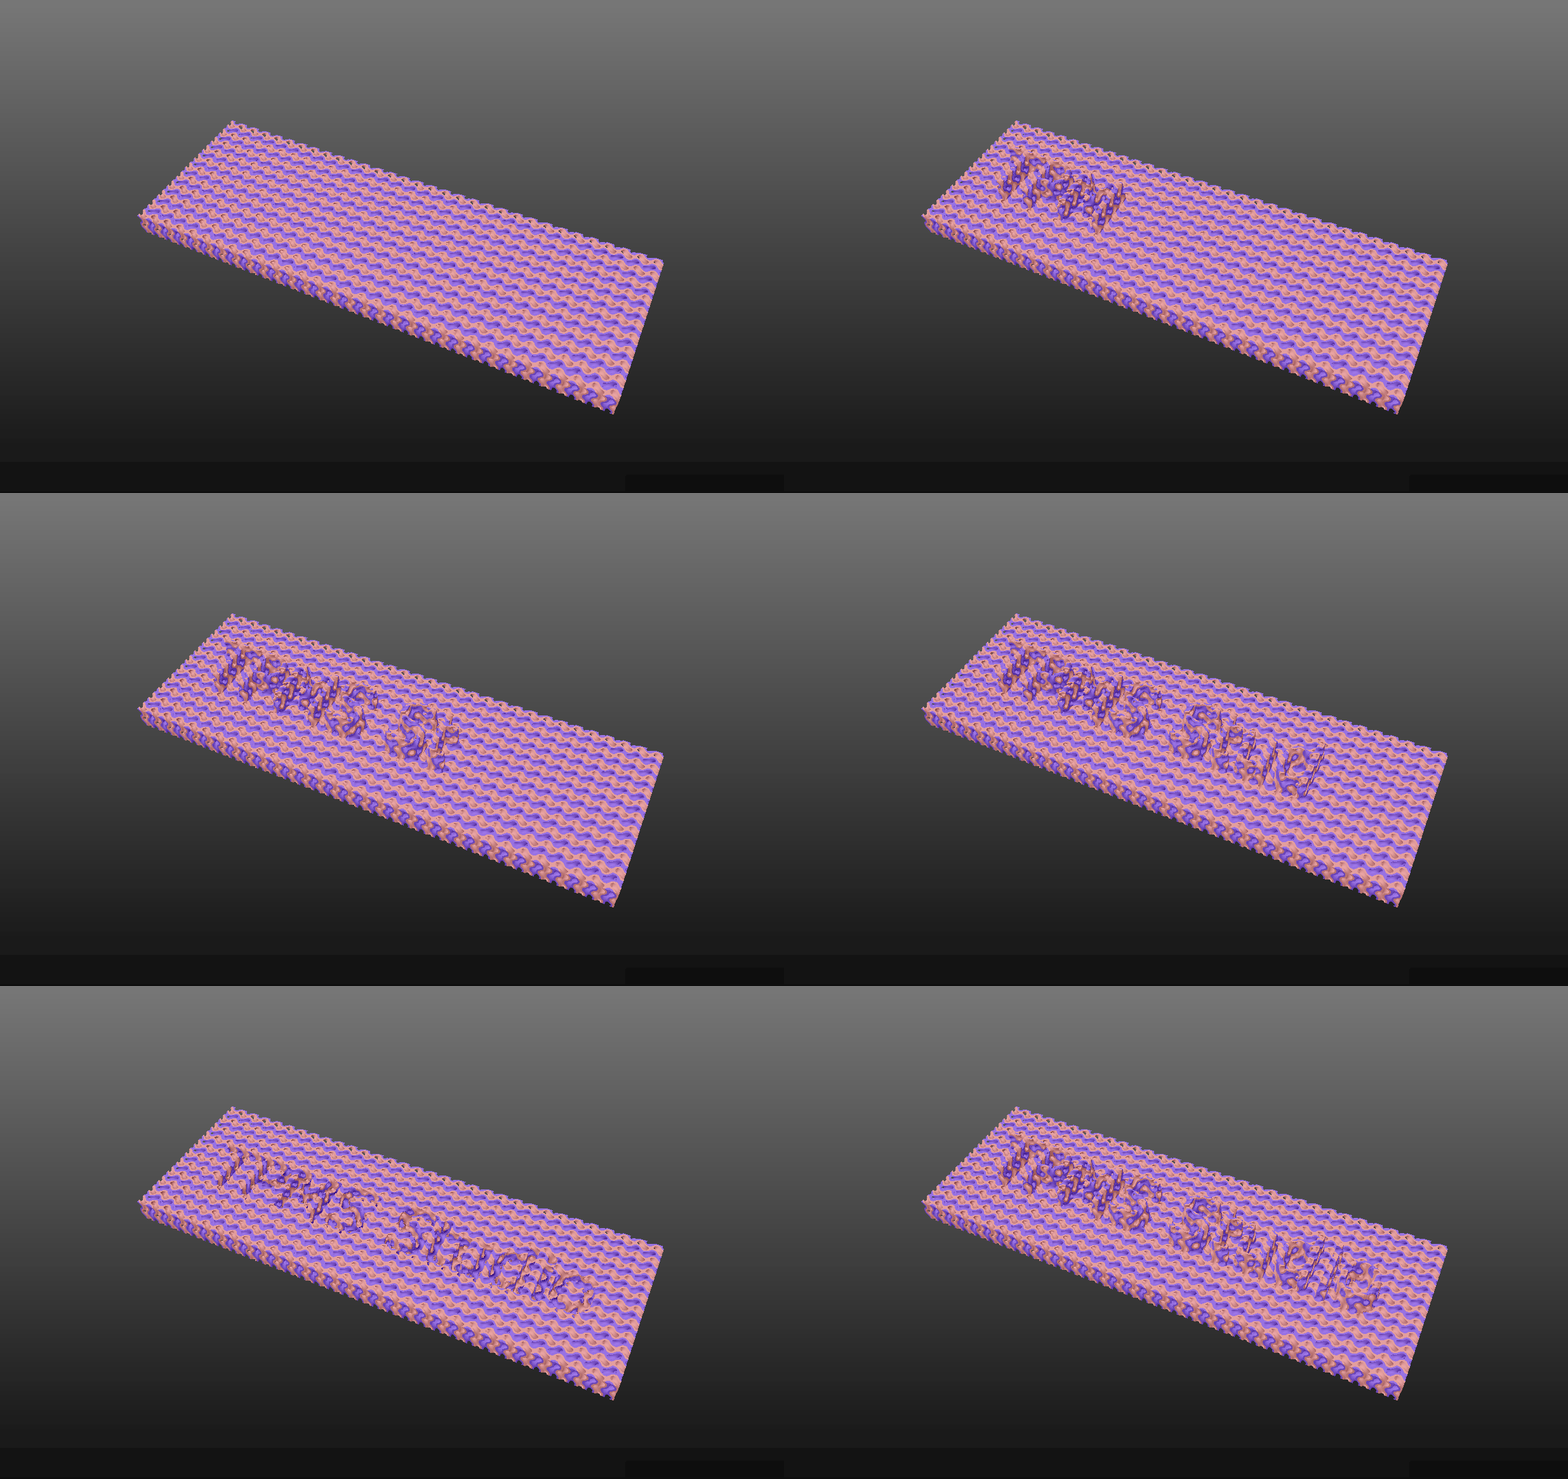
We can also generate a text plaque to stick on a geometry you've created (can be added on the lattice part too).
12m41s
What export options do we have? Slice rendering, stencil generation, MSLA, Mesh export, etc.
13m35s
Right click on a input value will show conversions to other dimensions.
13m42s
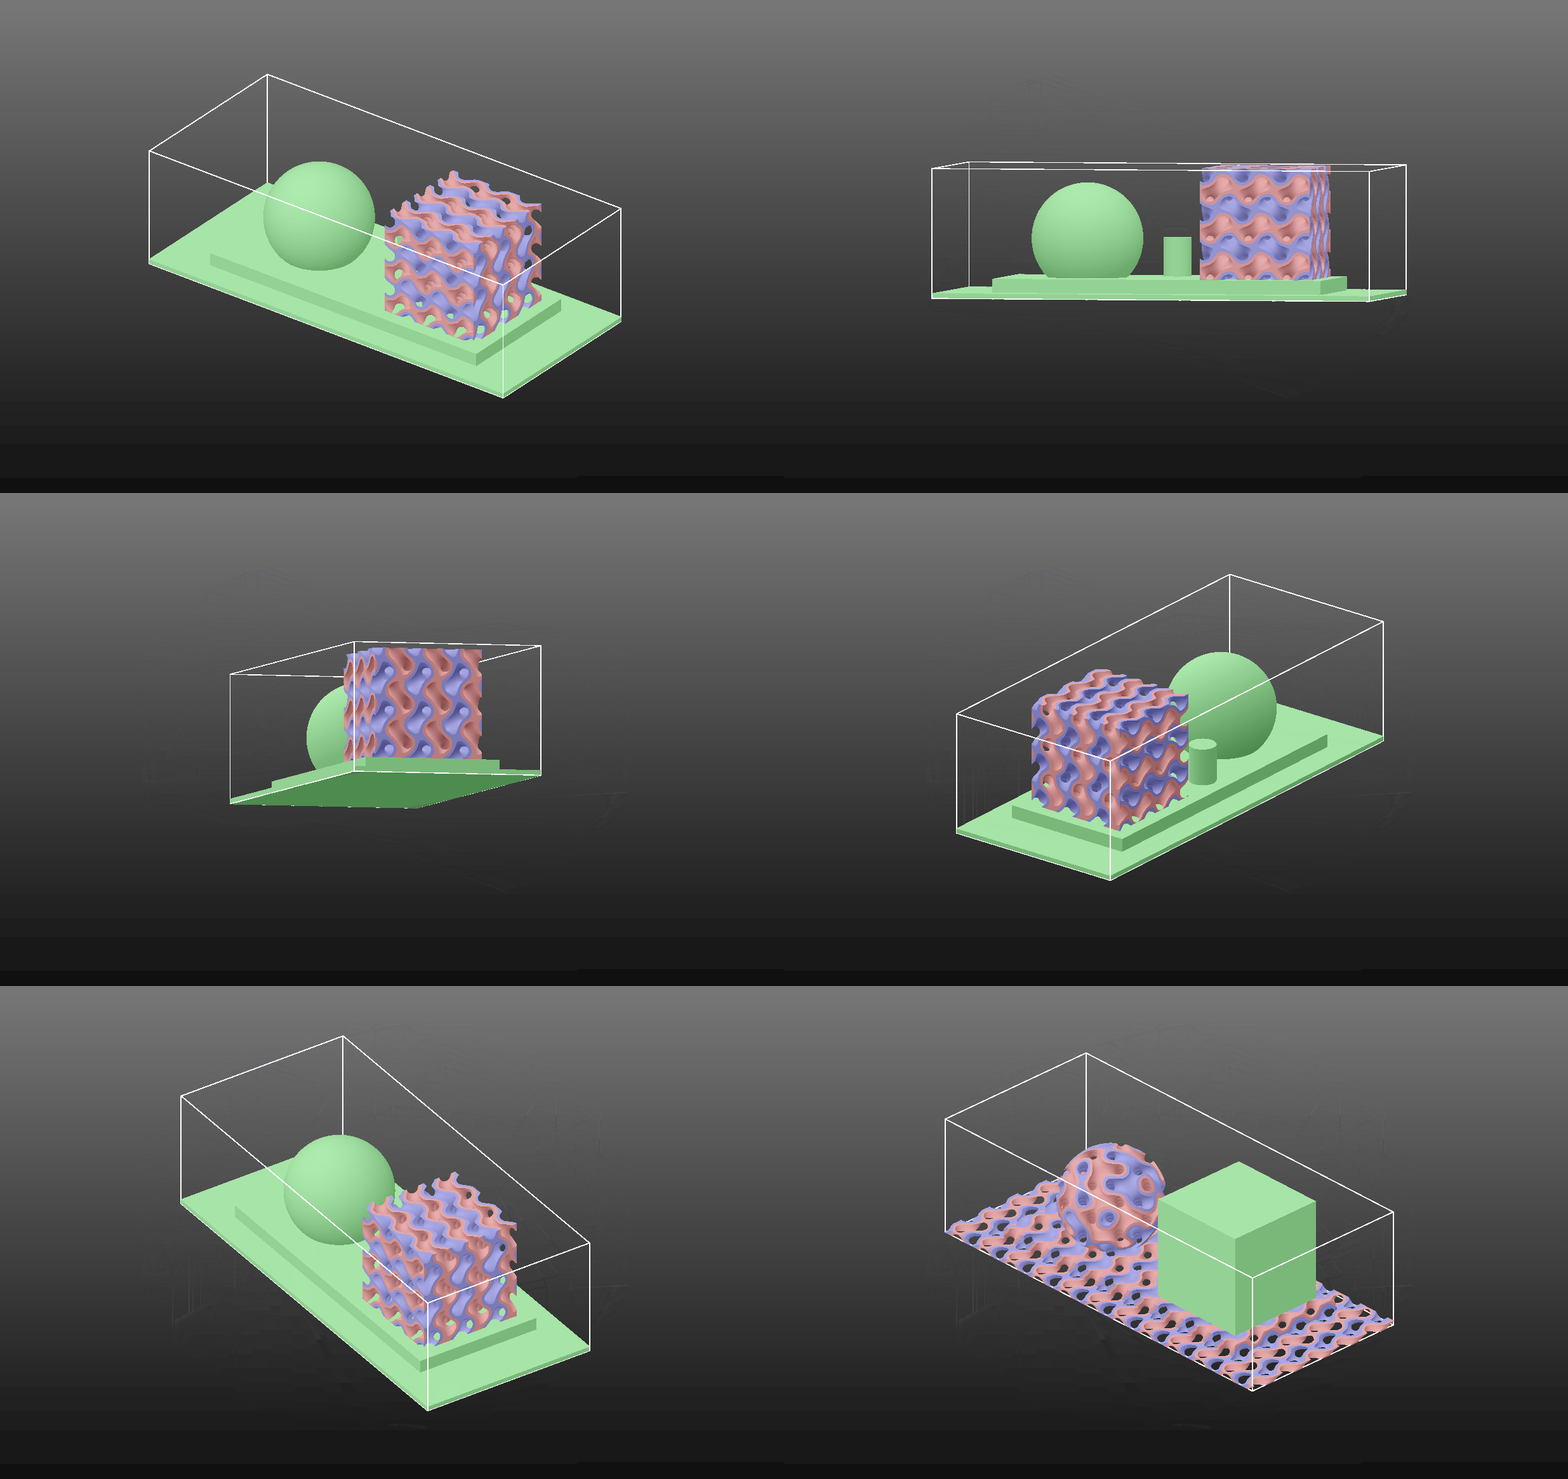
How would our model look on a print bed? This can be shown by checking View>Show Print Volume. Note: Don't forget to put the geometry on the floor.
13m53s
Let's export as a mesh.
14m23s
There is a very handy tool to create screenshots on the specified areas you want to focus. Give your geometry some nice colors and change the background before taking that screenshot! There are a huge amount of customisable options available.
17m00s
Did you know that you can import a TPMS stucture from a previous made screenshot?
